Techniques
How to Brown Butter and Use It in Everyday Cooking
Brown butter is one of those techniques that sounds fancier than it is. You melt butter, keep cooking it, and somewhere along the way it turns the color of hazelnuts and starts to smell like warm toffee. That's the whole process, and the payoff is serious: a single ingredient becomes richer, nuttier, and more complex without any extra effort.
The French name, beurre noisette, translates roughly to "hazelnut butter" (noisette means hazelnut), which tells you exactly what to look for. The solids in butter caramelize and the milk proteins brown through the Maillard reaction, the same chemistry that makes seared meat taste better than boiled meat. The flavor change is real and significant, and the technique takes less than 10 minutes start to finish.
What Actually Happens When You Brown Butter
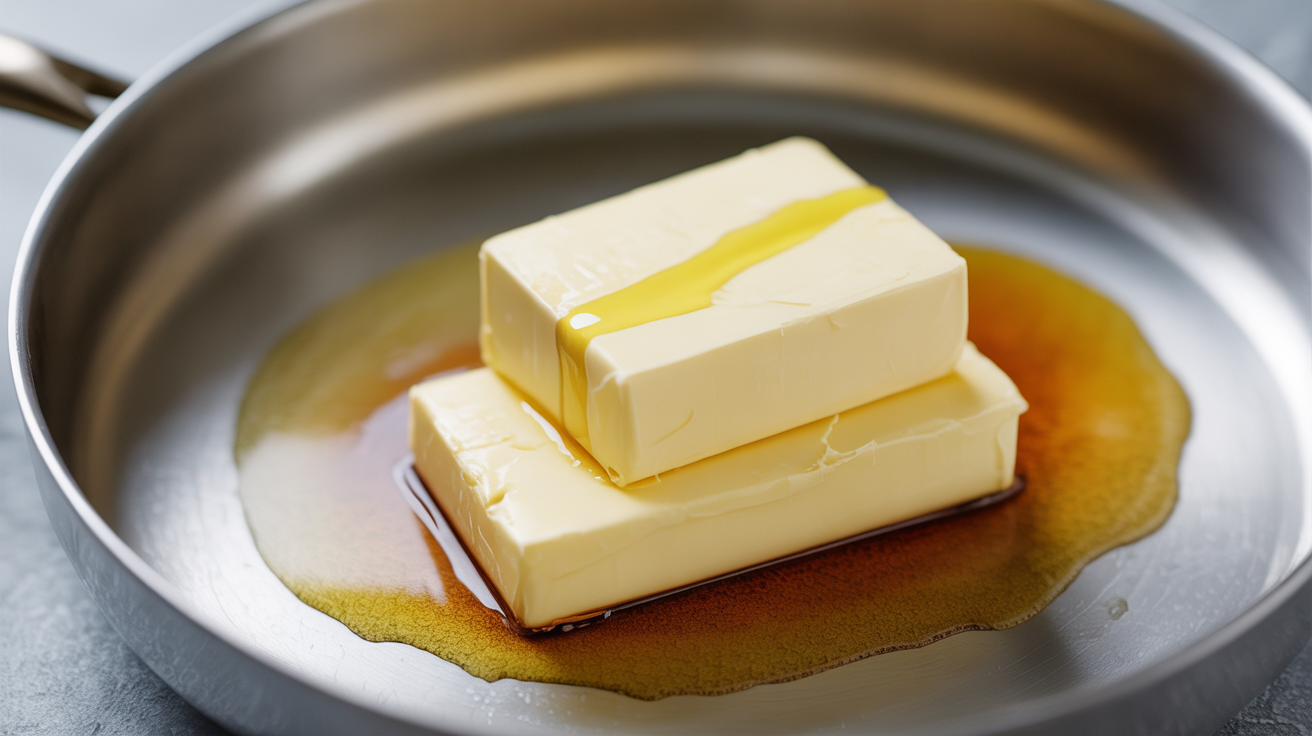
Butter is roughly 80% fat, 18% water, and 2% milk solids. When you melt butter and continue heating it, the water evaporates first, which causes the foaming and spattering you see early on. Once the water is mostly gone, the milk solids settle toward the bottom and begin to brown. The fat itself stays relatively neutral; the flavor comes entirely from those browning solids.
The Maillard reaction kicks in around 280°F / 138°C. Butter reaches that point fairly quickly in a hot pan, which is why you need to pay attention once the foam subsides. The solids move from white to pale gold to amber to dark brown in a narrow window. Past a certain point, the brown tips into black and the flavor shifts from nutty to acrid. There is no saving burned butter, so the goal is to catch it at amber.
Why a Light-Colored Pan Matters
Use a stainless steel or light-colored saucepan rather than a dark nonstick or cast iron skillet. You need to see the color change in the milk solids at the bottom of the pan, and a dark surface makes that nearly impossible. A 2-quart saucepan or small skillet with light interior walls is the right tool.
How Much Butter to Start With
Brown butter loses volume as the water cooks off, roughly 20% by weight. If a recipe calls for 100g of brown butter, start with about 120g of regular butter. For most everyday purposes, 4 tablespoons (56g) is a practical amount that browns quickly without giving you too short a window to catch it at the right stage.
How to Brown Butter, Step by Step
Cut the butter into pieces so it melts evenly. Place it in your light-colored pan over medium heat. You do not need high heat; medium is fine and gives you more control over the timing.
The butter will melt, then foam. Keep going. The foam can obscure what is happening underneath, so stir or swirl the pan occasionally to see the solids. You are looking for the sediment at the bottom to turn from white to golden tan. The smell will shift from milky to nutty and slightly toasty, almost like popcorn with a caramel note underneath.
At medium heat this takes roughly 4 to 6 minutes for 4 tablespoons of butter, though the timing varies with your pan and stove. Do not walk away during this step.
Reading the Color and Smell Cues
Pale gold (about 3 minutes): The foam is subsiding and the solids are just starting to color. Keep going; you are not there yet.
Amber brown (4 to 5 minutes): The solids look like light tea, and the smell is distinctly nutty. This is the sweet spot for most savory cooking and general use.
Deep hazelnut (5 to 6 minutes): Darker color, more pronounced flavor. Good for baking applications where you want a stronger, more assertive effect.
Starting to smoke: Pull it immediately and pour it into a heatproof bowl. A few extra seconds of residual heat are fine; continuing to cook it on the burner is not.
Stopping the Cooking
The pan holds heat after you pull it from the burner, and that residual heat can push brown butter past the point of no return. Pour it into a heatproof bowl the moment it reaches the right color, or add a cold ingredient directly to the pan (a squeeze of lemon juice, a splash of stock) to halt the cooking quickly. If you are using the butter right away in the same pan, add your next ingredients immediately to absorb the heat.
Savory Uses for Brown Butter
Pasta is probably the simplest application. Cook your pasta, toss it with 3 to 4 tablespoons of brown butter, a handful of grated Parmesan, and a splash of starchy pasta water to loosen the sauce. The nuttiness works especially well with stuffed pasta like tortellini or ravioli, where the richness of the filling pairs naturally with the deeper flavor of the browned fat.
Fish is another natural match. Once you have pan-seared a fillet of trout, sole, or halibut, the browned bits left in the pan make an excellent starting point. Add butter, let it brown directly in the pan drippings, then squeeze in a tablespoon of lemon juice and pour it over the fish. This is a classic meunière preparation and it takes about 2 minutes.
For vegetables, roasted or steamed options both work well. Toss cooked green beans, broccoli, or cauliflower in brown butter rather than a plain oil. The fat coats the vegetables evenly and the nutty flavor adds depth without any added spices. About 2 tablespoons is enough for 1 pound (450g) of cooked vegetables. For a comparison of how brown butter differs from other finishing fats, types of olive oil covers smoke points and flavor profiles in detail.
Brown butter also works well as the fat component in a pan sauce. After searing a pork chop or chicken thigh, let the drippings stay in the pan and add butter for the browning stage before you deglaze. For a full walkthrough of building a sauce this way, how to make pan sauce covers the whole process from deglazing to finishing.
Sage Brown Butter
This is one of the most useful variations. After the butter browns, drop in 8 to 10 fresh sage leaves and let them fry for about 30 seconds. They crisp up quickly and infuse the fat with a herbal, slightly peppery note. Spoon the whole thing, sage and all, over fresh gnocchi, pasta, or roasted winter squash. The fried leaves add texture and the brown butter underneath makes the dish feel substantial with very little work.
Baking with Brown Butter
Brown butter substitutes for regular melted butter in most baking recipes. Because some water has evaporated during browning, the batter or dough will have slightly less moisture, which can make the finished product denser or chewier. For cookies, this is usually welcome rather than a problem.
Chocolate chip cookies made with browned butter develop a butterscotch-adjacent flavor in the background. Brown the butter first, then let it cool until it no longer feels warm to the touch (about 20 minutes at room temperature, or 10 minutes in the fridge), and proceed with the recipe as written. If you want to match the original moisture level precisely, stir in 1 to 2 teaspoons of water per 4 tablespoons of brown butter before mixing it into the dough.
Muffins, quick breads, and blondies all respond well to browned butter without any adjustments. Cakes are trickier because moisture loss can affect crumb structure, but dense styles like pound cake work reliably.
Storing Brown Butter
Let it cool to room temperature, then transfer to an airtight container and refrigerate. It keeps for up to two weeks and re-solidifies into a pale tan paste that looks slightly different from regular butter. You can also freeze it for up to three months. Use it straight from the fridge for any recipe where you would melt it anyway, or bring it to room temperature first if you need it softened.
Frequently Asked Questions
Can I use salted butter to make brown butter?
Yes, though the salt concentrates slightly as the water cooks off. The result is a bit saltier than you might expect from the same amount of regular salted butter. For savory dishes this is usually fine. For baking where you are measuring salt precisely, unsalted butter gives you more control over the finished flavor.
Why did my butter burn instead of brown?
The most common causes are heat that is too high and not watching closely enough. High heat moves through the browning stages too fast, and the solids can go from amber to burned in under 30 seconds. Medium heat is more forgiving. Swirling or stirring the pan also helps redistribute heat and lets you check what is happening at the bottom.
Can I brown butter in the microwave?
You can, though it is harder to control than the stovetop. Use a large microwave-safe bowl since the butter spatters, and heat in 30-second intervals at full power, swirling between each. The butter will foam and eventually brown. You lose the visual cues that make stovetop browning reliable, so expect some trial and error finding the right number of intervals for your microwave.
Does brown butter work with clarified butter or ghee?
Ghee is already clarified, meaning the milk solids have been removed. Because those solids are the whole point of browning, ghee does not produce the same result. Standard whole butter is what you need for beurre noisette.
How do I know if I have burned it?
Burned butter smells sharp and acrid rather than nutty. The solids will be dark brown to black rather than amber, and the pan may smoke more than usual. If you catch it early, the butter might taste slightly bitter but still usable in a savory context with other strong flavors. If it smells clearly burned, pour it out, wipe the pan, and start again with fresh butter.