Techniques
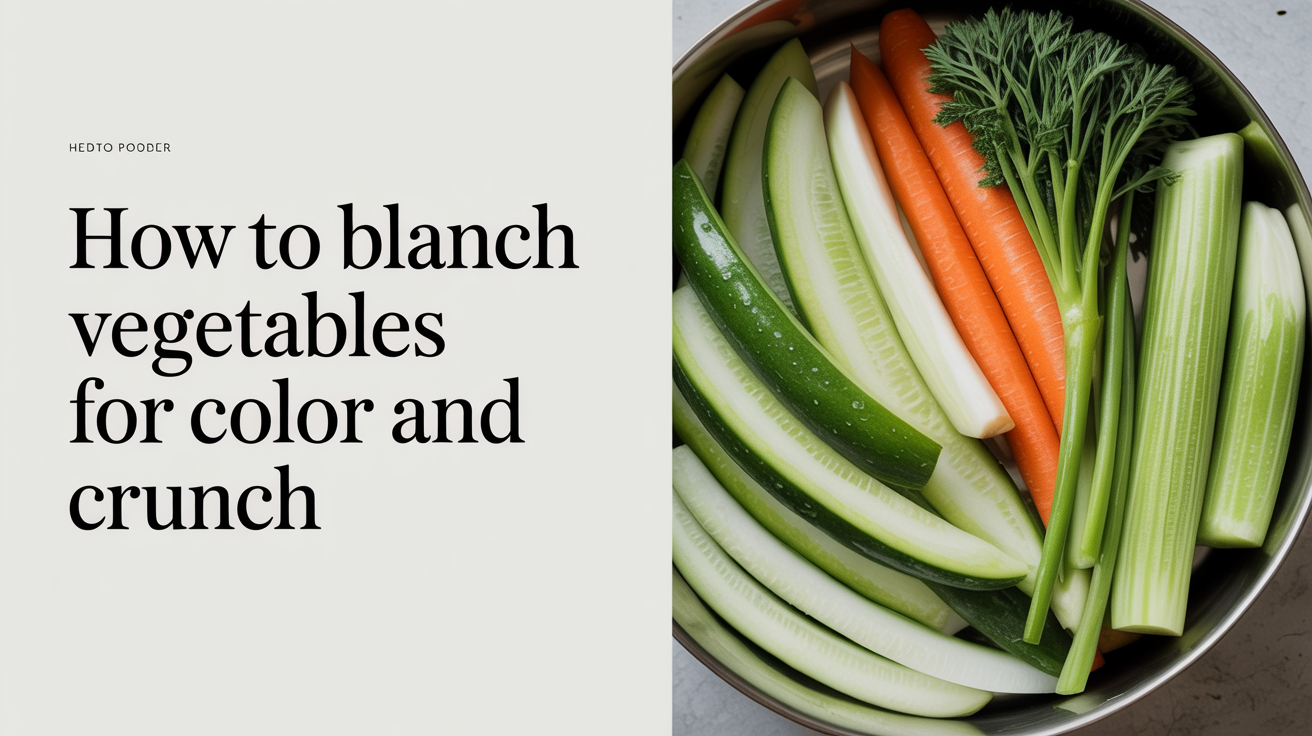
How to Blanch Vegetables for Color and Crunch
Blanching is one of those techniques that looks fussy but only takes about five minutes once you understand why it works. The idea is simple: boil vegetables briefly, then stop the cooking immediately by plunging them into ice water. What you get are vegetables that hold their bright color, tender-crisp texture, and fresh flavor, whether you're serving them that evening or tucking them into the freezer for later.
Why Blanching Works
The brief blast of boiling water does two things at once. First, heat breaks down the enzymes in vegetables that cause them to turn brown, lose texture, and go bland over time. Those same enzymes remain active in raw vegetables, which is why a bag of green beans left in the fridge for a week goes limp and dull. Second, the high heat sets the chlorophyll in green vegetables, which is why blanched broccoli turns an almost electric green rather than the olive drab you get from overcooking.
The ice bath is the other half of the equation. Vegetables keep cooking from residual heat even after you lift them out of the water. Dropping them into ice water stops the cooking within seconds, locking in texture before the vegetables soften past where you want them.
There's also a practical bonus: you can blanch vegetables hours ahead of dinner. Park the cooled, drained vegetables in the refrigerator, then sauté, stir-fry, or toss them with a dressing when you're ready. For dense vegetables like carrots or cauliflower, blanching first can also shorten the time they need when you roast them later, since part of the cooking work is already done.
What You Need Before You Start
You don't need specialized equipment. A large pot (at least 4 quarts / 3.8 liters), a colander or spider strainer, a large bowl, and plenty of ice are the essentials. The bowl should be big enough to hold all the vegetables with room to spare, because overcrowding slows down the cooling.
Salt the water generously. Use about 1 tablespoon (15 g) of kosher salt per quart (1 liter) of water. Salted water seasons the vegetables lightly and helps maintain color in green vegetables. The water should taste pleasantly salty, close to a well-seasoned broth.
Make the ice bath first. Fill the large bowl with cold water and at least 2 cups of ice before you start blanching. Once the vegetables hit the boiling water, you'll want to move fast, so having the bath ready means you won't scramble for the ice tray at the last second.
Work in small batches. Adding too many vegetables at once drops the water temperature so the vegetables simmer rather than boil. Boiling is what you want, so keep batches small enough that the water returns to a full boil within about 30 seconds.
Timing by Vegetable
Timing varies quite a bit by vegetable. Thin snow peas need far less time than dense broccoli stems, and leafy greens barely need a minute. The list below is a reliable starting point; adjust slightly based on the size of what you're blanching.
Green Vegetables
- Asparagus (medium spears): 2 to 3 minutes
- Broccoli florets: 2 to 3 minutes; thick stem pieces, 4 to 5 minutes
- Green beans (trimmed): 2 to 4 minutes
- Snap peas or snow peas: 1 to 2 minutes
- Spinach or tender kale: 30 seconds to 1 minute
- Edamame (shelled): 3 to 4 minutes
- Fresh or frozen peas: 1 to 2 minutes
Root Vegetables and Dense Cuts
- Carrots (1/4-inch / 6 mm slices): 2 to 3 minutes
- Cauliflower florets: 3 minutes
- Corn kernels (off the cob): 4 minutes
- Whole corn cobs: 5 to 6 minutes
- Pearl onions: 1 to 2 minutes (blanching also loosens the skins so they slip off easily)
How to Tell When They're Done
Pull a piece out and bite through it. The vegetable should be just barely tender with a little resistance at the center, not crunchy-raw but nowhere near soft. It will lose a bit more firmness during transfer, so err on the shorter side when you're uncertain.
The Blanch-and-Shock Method, Step by Step
-
Bring a large pot of water to a rolling boil. Use enough water so the vegetables can move freely, typically 4 quarts (3.8 liters) for about 1 pound (450 g) of vegetables.
-
Salt the water with 1 tablespoon (15 g) of kosher salt per quart.
-
Lower the vegetables into the boiling water using a spider strainer, a colander basket, or by simply pouring them in. Start your timer when the water returns to a boil.
-
Transfer the vegetables to the ice bath immediately when the timer goes off. Use a spider or slotted spoon to move them quickly, or drain through a colander and move them to the bowl. Work fast.
-
Let them cool in the ice bath for at least 2 minutes, or until they feel cold all the way through at the thickest part. Don't rush this step.
-
Drain well and pat dry before refrigerating or freezing. Extra surface moisture makes stored vegetables soggy and encourages ice crystals in the freezer.
Blanching for Freezer Prep
Blanching before freezing is standard practice, and there's solid reasoning behind it. Raw vegetables frozen without blanching are still edible, but after a few weeks the flavor goes flat, the texture gets mushy, and the color dulls. Blanching deactivates the enzymes responsible for that deterioration, so frozen blanched vegetables stay better for longer.
After the ice bath, drain the vegetables thoroughly and spread them in a single layer on a sheet pan lined with a clean kitchen towel. Pat them as dry as you can, then freeze the vegetables on the pan until solid, about 1 to 2 hours. Transfer to freezer bags or airtight containers and store for up to 12 months for most vegetables.
This dry-and-freeze approach works well for big prep sessions: blanch a couple of pounds of green beans or broccoli when they're fresh and inexpensive, freeze them portioned out, and pull what you need throughout the month. Blanched frozen vegetables go directly from freezer to a hot pan without thawing.
Pairing Blanching with Other Cooking Methods
Blanching fits naturally into almost any cooking approach. Stir-fries move fast and benefit from pre-blanched vegetables that need only a quick toss in a hot pan rather than extended cooking. For a weeknight plate of blanched green beans and steamed grains, having the vegetables already blanched and chilled means they reheat in under 2 minutes while the rice finishes cooking.
For sheet pan meals with multiple components, blanching dense root vegetables for 2 to 3 minutes before they go into the oven means everything finishes at roughly the same time as thinner or more tender items. The same logic applies to grain bowls and composed salads, where you want each component at its best texture rather than everything cooked to the same degree.
You can also blanch garlic and shallots briefly to mellow their sharpness without losing their flavor entirely, or blanch whole tomatoes for 30 seconds to loosen the skins before peeling.
Frequently Asked Questions
Can I blanch vegetables without an ice bath?
You can, but the results won't be the same. Without the ice bath, the vegetables continue cooking from residual heat and soften further than you want. The color in green vegetables also fades within a few minutes. If you don't have ice on hand, spreading the vegetables out on a sheet pan in a cool spot helps slow the cooking, but nothing stops residual heat as quickly as ice water.
Do I need to salt the blanching water?
Salt isn't strictly required, but it makes a noticeable difference. Salted water seasons the vegetables lightly and helps green vegetables maintain a brighter color. A tablespoon of kosher salt per quart of water is the right range, and it won't make the vegetables taste salty.
How long do blanched vegetables keep in the refrigerator?
Blanched and properly drained vegetables keep for 3 to 5 days in an airtight container. Excess moisture is the main enemy of texture, so take the time to pat them dry before storing. A paper towel or clean kitchen towel in the bottom of the container absorbs any lingering moisture.
Can I reuse the blanching water?
Yes, for the same type of vegetable or for other mild-flavored vegetables. The water picks up some color and starch but is fine for several batches. Strong-flavored vegetables like broccoli, cabbage, or turnips can impart off-flavors to more delicate vegetables, so consider starting fresh when switching between them.
Why did my blanched green vegetables turn dull after cooking?
Two likely causes: the water wasn't at a full rolling boil when the vegetables went in, or they stayed in too long. Under-blanching can also leave enzymes active, which causes yellowing during cooling. Make sure the water returns to a vigorous boil before you start timing, and pull the vegetables just before they reach the texture you want, since they'll soften slightly during the transfer to the ice bath.